Hello! Happy to see you stumbled upon this blog post.
It wasn’t by accident!
Something must have caught your eye – whether it was the quirky image, the stand-out title, or a strategically placed keyword. That’s the power of a great blog post!
Now, if you want to write blog posts that grab users’ attention, generate organic traffic, and drive users to take action on your site, you’ll want to learn how to format a blog post like a pro.
In this guide, I’ll cover how to draft, write, format, and optimize a blog post so it generates amazing results for your website (just like it does for mine!)
What is a Blog Post?

A blog post is a form of written content that’s published on a blog or website. Blog posts can cover a variety of topics, from travel to digital marketing to fitness and beyond. However, all blog posts serve as a way for individuals or businesses to share information, opinions, insights, tutorials, and more with their readers.
Blog posts are not just for sharing your thoughts on the internet, though.
They can also drum up engagement through comments and social media sharing, build an online community, generate clients or sales for your business, and so much more.
Need to Write a Blog Post? Consider Your Goals
When it comes to growing your blog, it’s important to consider your goals.
Do you want to foster a sense of community? Grow your subscriber base? Increase website traffic? Promote your services? Land brand deals? Make money?
Whatever your aspirations, these will drive the overall strategy for your blog.
- If you want to generate more organic traffic, then Search Engine Optimization (SEO) will be an important part of formatting your blog posts.
- If you want to earn money and make sales, then including a clear call-to-action and directing people to relevant products will be important for your blog posts.
- If you want to grow a community, then storytelling, tutorials, and thought leadership will steer the direction of your blog posts.
While the fundamentals of formatting a blog post are about the same across the board, it’s still important to consider your goals and how these may influence the structure, substance, and direction of your blog content.
Getting Started: 4 Main Parts of a Blog Post
We’ll get into how to format a blog post in a second, but let’s cover the 4 main parts you need to know:
- Headline: Every blog post should have an attention-grabbing headline that communicates one primary topic to your audience.
- Introduction: Start your blog post with a captivating leading paragraph that entices users to keep reading and introduces what your article is about.
- Body content: Throughout your blog post, include supporting points and information that round out your primary topic.
- Call-to-Action (CTA): Direct users to take action, whether that be reading another article on your blog, signing up for your email list, downloading an ebook, buying a product, etc.
Simple enough, right?
Now that you know the fundamentals, let’s get into the good stuff…
How to Format a Blog Post in 10 Easy Steps
It doesn’t take a pro to write an amazing blog post. All you need is to understand the basics of how to format a blog post, optimize it for Google, and write content that’s interesting to users.
Here are the 10 steps to formatting a blog post so that it’s organized, easy to read, and engaging for your readers!
1. Write an eye-catching headline
One of the first things people notice when they stumble upon a blog post is the headline. Your blog post headline is an important piece of real estate when it comes to catching readers’ attention and driving clicks.

With that, every blog post should have a concise (yet descriptive) headline that includes emotional cues that entice people to read your post.
When writing a blog post headline, be sure to:
- Reference the primary topic of your post
- Use title case format (best for clicks)
- Include eye-catching adjectives
- Include “How To”, “Best”, or “(number)” at the beginning, if applicable
The goal is to effectively summarize what the blog post is about, what readers will discover when they click on your post, and why they should be interested in reading.
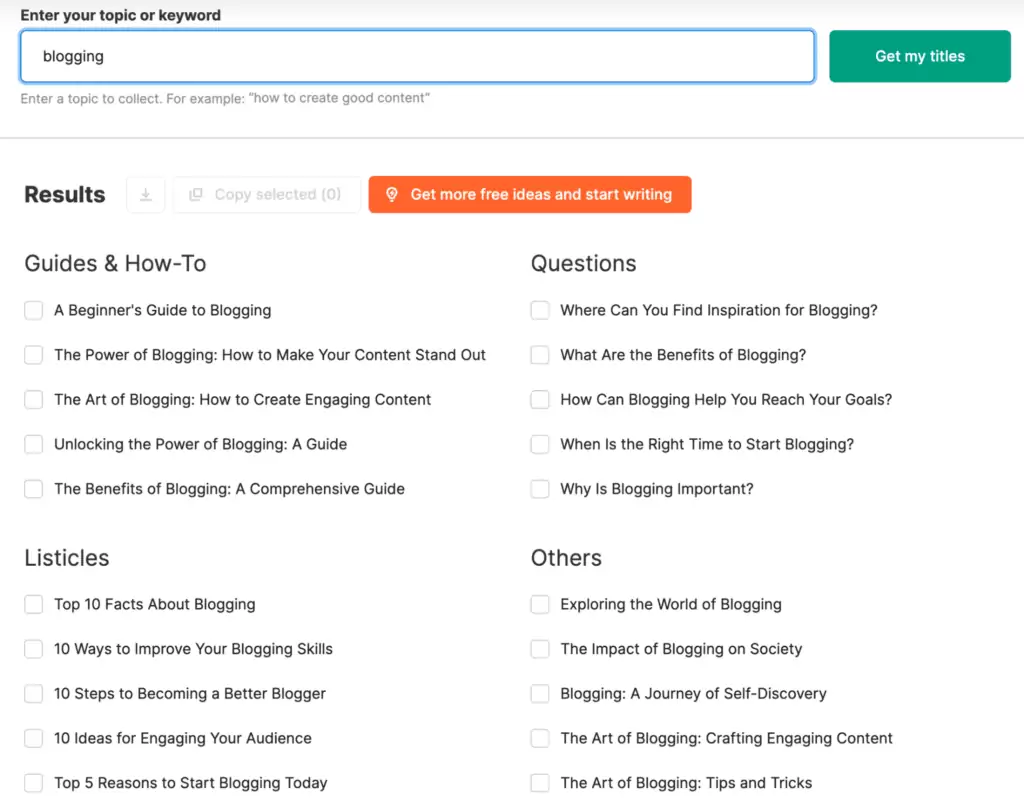
Tools like Portant’s Title Generator or Semrush’s Title Generator with AI can help you come up with interesting, attention-grabbing titles for nearly any subject.
LOOKING FOR INSPIRATION?
Here are some creative headline templates to get you started:
- “The [Adjective] Guide to [Topic] That Will [Emotionally Charged Verb] Your Life”
- “Discover the Secret to [Adjective] [Outcome] in Just [Number] Minutes a Day”
- “Why [Adjective] People Are [Emotionally Charged Verb] [Topic]”
- “Unleash Your Inner [Adjective] [Noun] and Achieve [Desired Outcome]”
- “The [Adjective] Way to [Emotionally Charged Verb] Your [Noun]”
- “Are You [Emotionally Charged Verb]? Here’s How [Adjective] [Topic] Can Help”
- “Transform Your [Noun] with These [Adjective] [Topic] Tips”
- “Why [Adjective] [Topic] is the Key to [Emotionally Charged Verb] Your [Noun]”
- “Achieve [Desired Outcome] with This [Adjective] Guide to [Topic]”
- “Discover the [Adjective] Secrets of [Topic] That Will [Emotionally Charged Verb] You”
- “Unlocking the Power of [Adjective] [Topic] for [Emotionally Charged Verb] Success”
- “The Ultimate [Adjective] Checklist for [Emotionally Charged Verb] Your [Noun]”
- “From [Emotionally Charged Verb] to [Adjective]: How [Topic] Can Change Your Life”
- “Find Your Inner [Adjective] [Noun] and [Emotionally Charged Verb] Your Dreams”
- “Why [Adjective] [Topic] Matters More Than You Think”
- “The [Adjective] Path to [Desired Outcome]: [Number] Proven Strategies”
- “Become a [Adjective] [Noun] with These [Topic] Hacks”
- “The [Adjective] Guide to [Emotionally Charged Verb] Your Way to [Desired Outcome]”
- “Why [Adjective] [Topic] Will Make You Feel [Emotion] Every Day”
- “Experience [Adjective] [Topic] and Watch Your [Noun] Soar”
2. Use section headers to organize your content
Headers help provide structure to your blog posts by allowing you to organize your thoughts into individual sections.
For example, in the blog post you are reading now, I use headers like “What is a Blog Post?” and “1. Write an eye-catching headline” to break up the content into shorter, easy-to-read sections.
Headers not only help readers “scan” your content, but they benefit your SEO as well.
The header formats available to you within your Content Management System (CMS) include Heading 1 (H1), Heading 2 (H2), Heading 3 (H3), and Heading 4 (H4) headers, which allow you to create a hierarchy within your blog post.
The hierarchy of your section headers should go as follows:
- Heading 1 (H1): there should only be one H1 per blog post and it essentially serves as the title of your post. This can be similar to or identical to your headline. It should usually contain your target keyword, for SEO purposes.
- Heading 2 (H2): You can have several H2s throughout your blog post and they should mainly be used to organize the primary subtopics of your blog post. They can sometimes contain target keywords, for SEO purposes.
- Heading 3 (H3): These headers organize the subtopics beneath your H2 headings, if applicable. If you have additional talking points to summarize within an H2 section, H3s can be used (though they are not required).
- Heading 4 (H4): H4s further organize talking points within H3 sections. These are less common but can be used if you need to summarize additional topics.
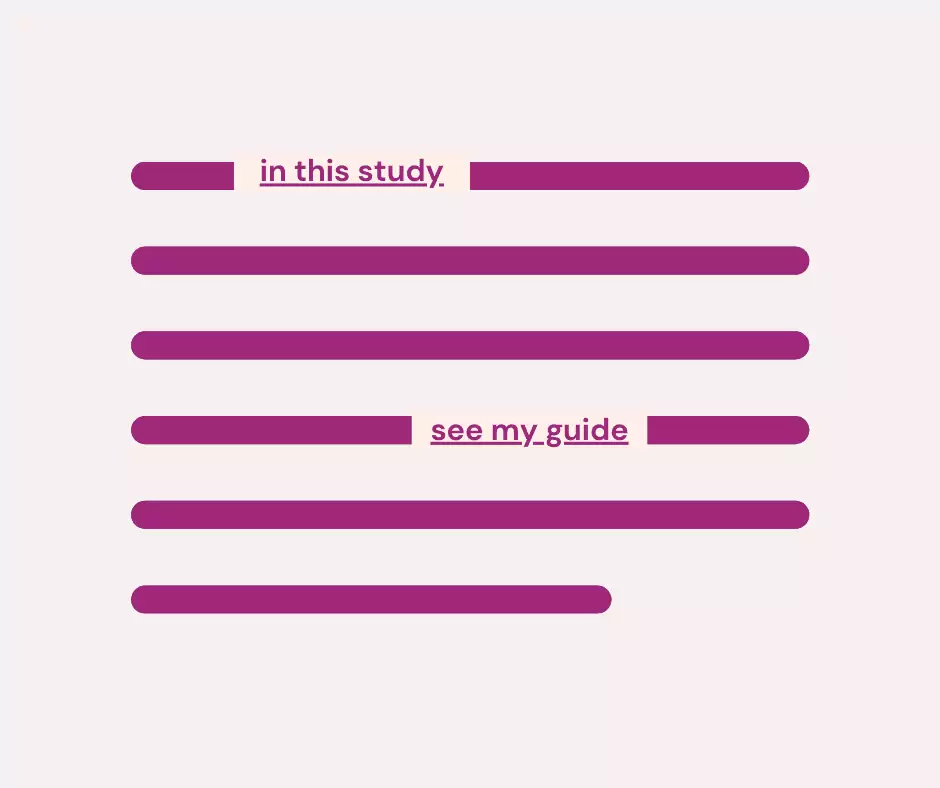
Using the blog post you are reading now as an example, here is what the header structure looks like (body copy removed):
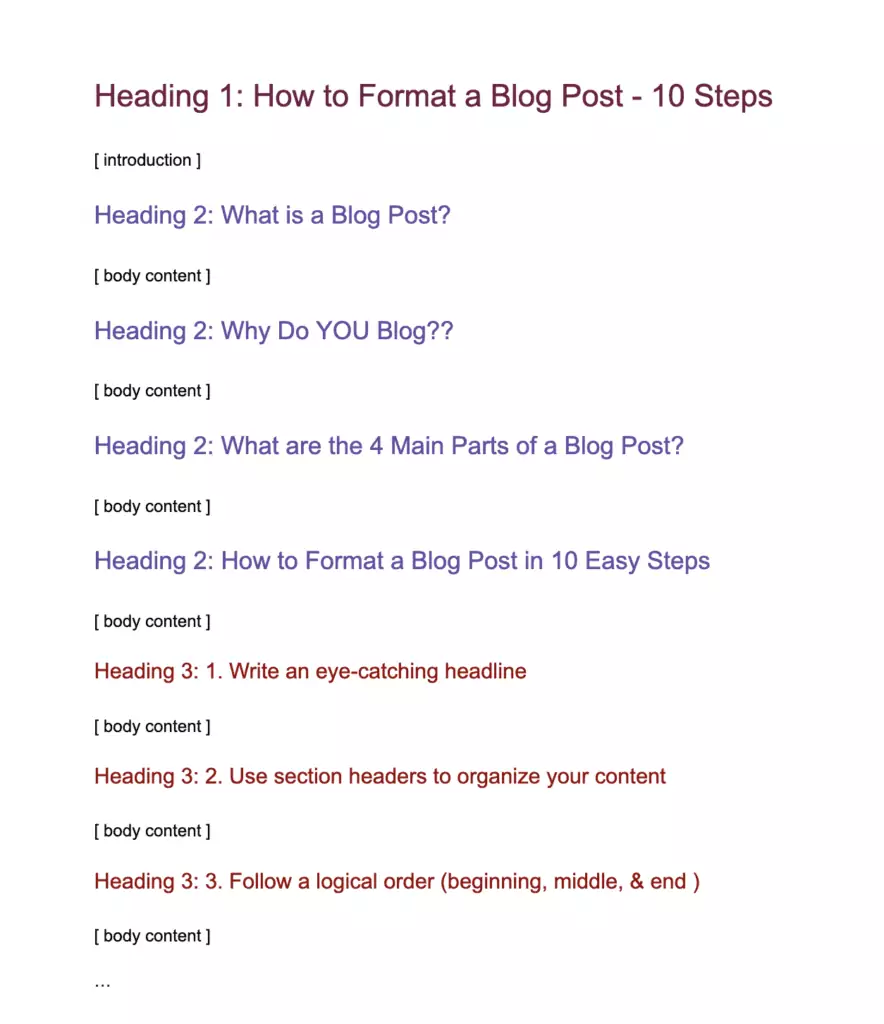
As you can see, not all of the Heading 2 sections contain Heading 3’s because they are not needed. However, since the “How to Format a Blog Post in 10 Easy Steps” section requires individual steps, Heading 3’s are needed.
It can be helpful to create an outline of your blog post with headers in order to organize your ideas before you start writing the body copy.
This helps ensure that you cover all the topics you wish to cover and that your blog post follows a logical progression.
3. Follow a logical order (beginning, middle, & end )
Readers crave order. They want to know what you are going to tell them, in what order, and what it all means when they reach the end of the post.
With this in mind, it’s important that your blog post follows a logical order – with a beginning, middle, and end.
Beginning (Introduction)

The beginning of your blog post should open with an introduction that both grabs the reader’s attention and introduces what the blog post is about. You might decide to open with a story, a joke, an interesting fact, or an anecdote to encourage people to keep reading. At the end of the introduction, quickly describe what people will learn in the rest of the post (e.g. “In this guide, I’ll cover how to draft, write, format, and optimize a blog post…”).
Middle (Body Content)
This is the “meat” of your blog post – where most of the content lives. As stated above, your body content will likely be organized within headers and follow an organized hierarchy of topics. Your blog post should cover more introductory topics first (e.g. “What is a Blog Post?”) and then go on to cover more complex or nuanced topics.
Of course, the exact structure of your body content will vary depending on the topic. If you are writing about an expert interview, this might look very different from a how-to guide. This is where you will need to use your best judgment to determine what readers would like to know first and then what topics should be covered later in the post.
End (Conclusion)
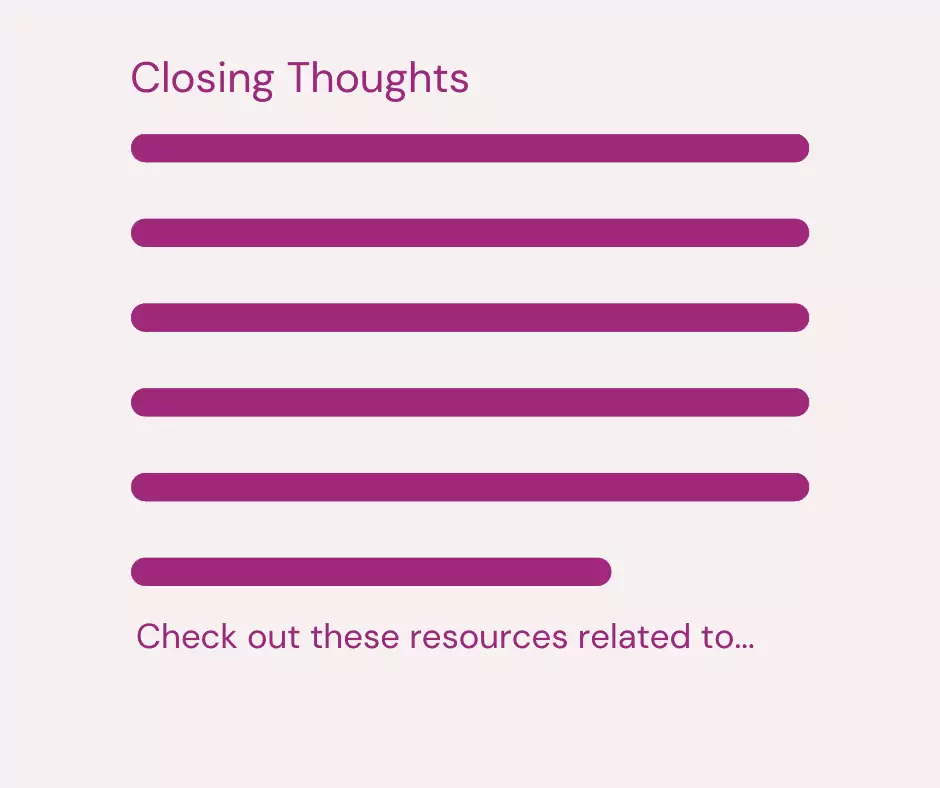
A summarizing conclusion ties the whole blog post together. This is where you quickly recap what was covered in the post, offer any closing thoughts, and/or direct readers to other resources on your website.
If you have another blog post, product, or service to promote, this can also be where you include a call-to-action (CTA) like, “Read more about…”, “Get a free consultation…”, “Download my free ebook…”, etc.
4. Add a table of contents
Adding a table of contents is another way to provide organization to your blog post. It can help readers jump to the sections they care about most and a table of contents can sometimes get picked up by search engines.
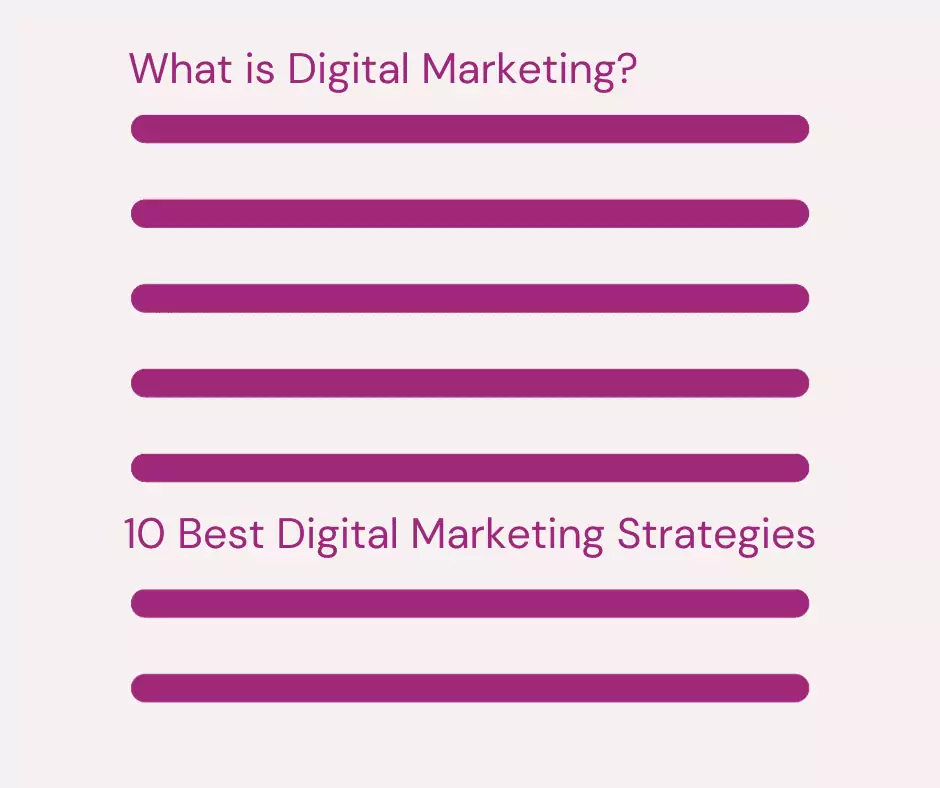
To create a table of contents in a blog post, create a bulleted list of all the H2 headings in your article. Then, add “jump links” (or “anchor links”) to the respective sections using the tools within your CMS.
Once done, your table of contents should look something like this:
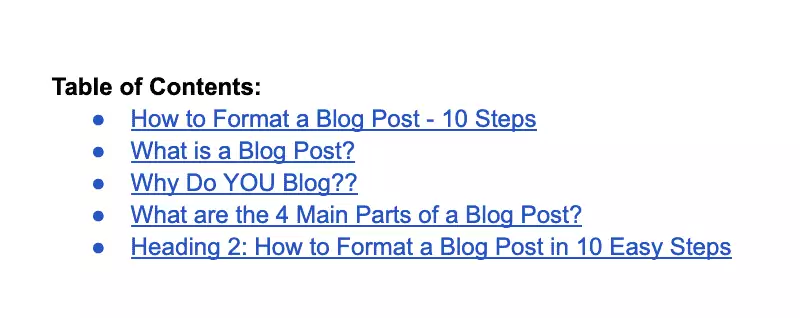
Not sure how to add jump links within your CMS? Check out these resources:
- How to Add Jump Links and Anchor Links in WordPress
- Create Anchor Links in Squarespace
- How to Create Anchor Links with Wix
5. Use lists to present information
Long blog paragraphs can get quite dull (and difficult to read). Help readers “scan” your article by adding numbered and/or bulleted lists.
Lists are great for summarizing small talking points and for highlighting important information.

Here are a few examples of how you can use lists in a blog post:
- Organize step-by-step guides: Break down complex processes or tasks into simple, actionable steps, making it easier for readers to follow along.
- Create comparison or pros/cons lists: When comparing different products, services, options, or ideas, you can use lists to present a clear breakdown of the pros and cons.
- Highlight benefits and features: Lists can be used to highlight the benefits or features of a product, service, or concept. This approach is especially effective in marketing and product review blog posts.
- Add helpful statistics and data: You can use numbered or bullet point lists to present statistical data, survey results, or research findings to add validity to your blog post.
- FAQs: Compile a list of frequently asked questions (FAQs) on your particular topic and answer them in your blog post.
- Checklists: Create practical, actionable lists that readers accomplish a task, like planning a trip, organizing an event, or achieving a specific goal.
- Make a glossary: If your article involves technical or complex terminology, consider adding a list of key terms and their definitions to help readers better understand your content.
6. Keep paragraphs short and concise
When you do use paragraphs in your blog post, make sure they are short and concise. Try to keep your body paragraphs to 3 sentences or less to help readers scan and read your content.
Having white space between paragraphs can provide a refreshing “break” between different sections, allowing readers to take a mental pause before moving on to the next section.
This makes your content more visually appealing and easier to read!
7. Add media or graphics
Another way to break up your content and improve engagement is to add media like images, infographics, gifs, and videos.
Images can serve as visual aids to readers, helping them understand complex concepts, visualize what you are talking about (like travel destinations or products), and even find humor in your content.

Similarly, videos, gifs, and other graphics can make your blog post more visually appealing and can provide supporting information for your primary topic.
Be sure to use high-quality visuals. Avoid using any copyrighted material but instead use stock image websites if you don’t have your own images. Some of my favorite stock image sites are Pexels.com and Unsplash.com.
You can usually add videos to your blog post by adding them to the Media library within your CMS or by embedding them directly into your blog post.
8. Include links to helpful, related content
Once someone is reading your blog post, you want to keep them on your website as long as possible! To do this, you’ll want to direct them to other blog posts or pages on your website.
Adding internal links to related blog posts, landing pages, products, and resources can provide additional value to readers and keep them on your site for longer.
Adding external links (to other websites) can also be a way to add value to your post. You can link to news articles, statistics, studies, products, and other reputable resources.
Just remember: Whatever you link to is also a representation of your brand, so only link to sites that have a good reputation and won’t mislead your audience.
9. Drive engagement with CTAs
Calls-to-action (CTAs) can be used to drive readers to take action. Some examples may include downloading an ebook, scheduling a consultation, buying your course, joining an email list, or buying a product.
Many bloggers forget to include CTAs because they are focused on just writing the content. But if you don’t include CTAs, that traffic won’t be converted into email subscribers, clients, or customers.
Encourage reader engagement by including clear CTAs throughout the body content and at the end of your blog post.
Some examples of CTAs include:
- “Subscribe to my newsletter for weekly updates.”
- “Click here to download the free eBook.”
- “Join the Facebook community and stay connected.”
- “Learn more about this topic in our related articles.”
- “Share your thoughts in the comments section below.”
- “Follow us on social media for the latest news.”
- “Get started today – click the link.”
- “Sign up for my upcoming webinar.”
- “Discover our exclusive offers – shop now!”
- “Don’t miss out – subscribe to the blog!”
- “Ready to take action? Contact me.”
- “Request a free consultation.”
- “Explore our products in detail.”
- “Find out how we can help – Get started now”
- “Join our mailing list to never miss an update!”
10. Optimize your blog post for organic traffic
The final (and perhaps most technical) step to formatting a blog post is to implement SEO.
By following SEO best practices, you increase your chances of having your blog post rank in search engines to generate organic traffic.
While writing for SEO takes practice, here are the basic tips you need to know to ensure your blog post is as optimized as possible:
- Include keyword in headline/title: Include your target keyword in your headline (i.e. title) to help improve rankings and clicks.
- Write a clear meta description: Summarize the contents of your blog post with a short and concise meta description. Make sure the meta description is under 170 characters long.
- Optimize headline/title length: Keep your headline under 65 characters so it is not truncated/cut off in the search results.
- Use a concise URL: Make sure your blog post URL is simple, concise, and absent of most “stop” words (like “of”, “and”, and “the”).
- Include keywords throughout your body content: Once you’ve conducted keyword research for your blog post, include these keywords (naturally) throughout the body content.
- Add keywords to headings: If applicable, include your target keywords in the H1, H2, and H3 headings in your blog post.
- Add internal links: Include internal links to related blog posts, pages, videos, and other resources on your website, using descriptive link text for each.
- Optimize images: Use descriptive file names for images and add alt text to improve accessibility.
Formatting your blog posts in this way can help improve your blog’s visibility and attract organic traffic.
Popular Types of Blog Posts
While the general format for blog posts is about the same (introduction, body content, and conclusion), there are other variations of this depending on the topic.
For example, interviews, how-to guides, “round-up” posts, and tutorials all have different formats because they organize the content in a unique way.
Here are the most common types of blog posts (and examples for each):
- How-to guides (e.g. How to Paint Kitchen Cabinets)
- Listicles (e.g. 10 Best Products to Sell Online)
- Product reviews (e.g. 6 Best Personal Blenders for Smoothies)
- Tutorials (e.g. How to Make DIY Sugar Wax)
- Personal stories (e.g. What It’s Really Like to Live with Mental Illness)
- Interviews (e.g. Interview with a Small Business Owner)
- Case studies (e.g. Ukrposhta Case Study: How to Build Brand Awareness)
- Guest posts (e.g. 5 Ways to Increase Web Copy Conversions – Victoria Foss)
- Infographics (e.g. Recycling: Good, Better, Best )
Recreate any of these blog post formats to provide helpful information to your audience and get them engaged with your content. Don’t be afraid to get creative!
What is a Good Blog Post Format?
We’ve covered how to format a blog post from start to finish, but what are the final touches to make something a good blog post?
With these tips, you’ll be able to draft a great blog post that’s optimized for Google AND for readers:
- Write a catchy title: Start with a compelling and descriptive title that grabs the reader’s attention
- Open with an eye-catching introduction: Provide a brief overview of what the blog post is about and why people should keep reading.
- Organize with headings: Organize your content into sections with clear subheadings. This helps readers scan the post and find the information they’re looking for.
- Write engaging body content: Write informative, well-researched, and valuable content that covers the intended topic.
- Add visuals and media: Incorporate relevant images, videos, infographics, and other media to increase engagement.
- Incorporate bullet points and lists: Use bullet points or numbered lists to break down complex information into easily digestible chunks.
- Link to relevant content: Add links to credible sources, related articles on your blog, or external websites to provide additional context.
- Drive engagement: Increase engagement by asking questions, inviting comments, asking for social scares, or conducting polls or surveys.
- Include a summarizing conclusion: Summarize the key points discussed in the post, add final thoughts, and reiterate their importance to your audience.
- Encourage social sharing: Add social sharing buttons to make it easy for readers to share the post on their preferred social platforms.
- Use consistent formatting: Utilize user-friendly fonts, colors, and text alignment to improve readability.
- Don’t forget SEO: Optimize your post for search engines by using relevant keywords, meta tags, and descriptive URLs.
- Use post tags and categories: Categorize and tag your blog post to help readers find related content on your blog.
- Fill out your author Bio: Include a brief author bio at the end of the post, along with links to your social media profiles or website.
Remember that the specific blog post format you use may vary depending on your blog’s niche and audience. You can always adapt these guidelines to suit your unique style.
Blog Post Format Example
When writing a blog post, sometimes it’s helpful to look at examples. While live examples with real content are often the most helpful, sometimes it’s good to reference a free template.
Here is an example of a blog post format:
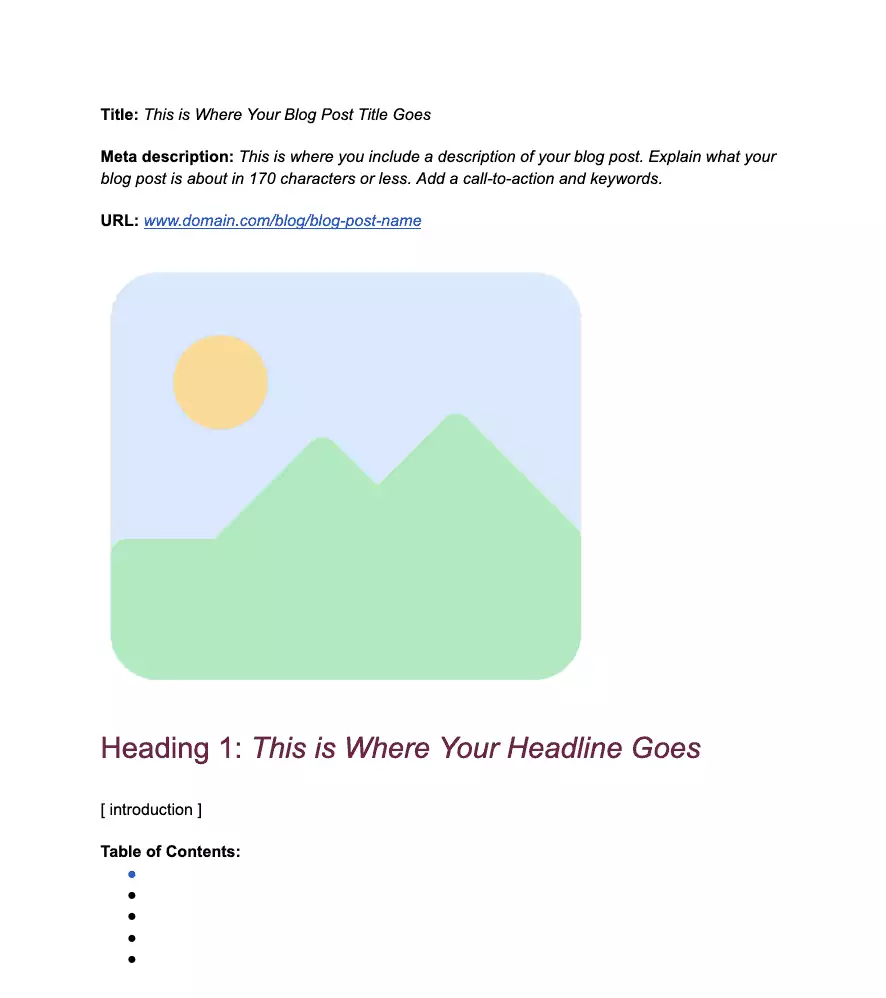
Ready to write your own blog post? Check out the FREE Blog Post Format Template for Google Docs.
Improve Your Blog Posts with These Helpful Tools
Tired of drafting blog posts completely from scratch? You’re in luck! With today’s technology, there are more tools than ever to help you write engaging, search-engine-optimized blog posts.
Here are a few of my favorite tools to use to create great blog posts.
Semrush
Semrush is a premium SEO tool that helps you find keywords to target in your blog posts, create blog post outlines, optimize your content, and even spy on your competitors’ keywords. Its SEO Writing Assistant is especially handy when it comes to creating SEO-friendly outlines and optimizing your blog post for target keywords.
Get 1 week of Semrush Pro for free
Surfer
Surfer is a Search Engine Results Page (SERP) analyzer tool that analyzes the top-ranking search results for your target keyword and provides recommendations for how to optimize your content. This includes recommended headings and subheadings, word count, keyword density, and more. Plus, its latest Surfer AI features make drafting blog posts easier than ever.
Canva Pro
Want to add creative images to your blog posts? You don’t have to be a graphic designer to do it! With Canva Pro, you have access to thousands of royalty-free graphics, photos, fonts, and colors you can use to create custom images. Remove the background for your own images to add a custom backdrop, create your own infographics, add animations, and so much more with the help of Canva Pro. (It’s what I used to create most of the graphics in this post!)
Writing Blog Posts Just Got Easier
Believe it or not, you don’t have to be a professional writer to create great blog posts. All you need is the right framework and a few handy tips to take your posts to the next level.
Whether your goal is traffic, sales, subscribers, clients, or all of the above, a well-written blog post can generate amazing results for your business. And with SEO woven in, your blog attract readers for months or even years to come.
Want to learn more about blogging and SEO? Join the Blogging for Beginners community on Facebook now!